
by Jess Liew | Jun 11, 2018 | Uncategorized
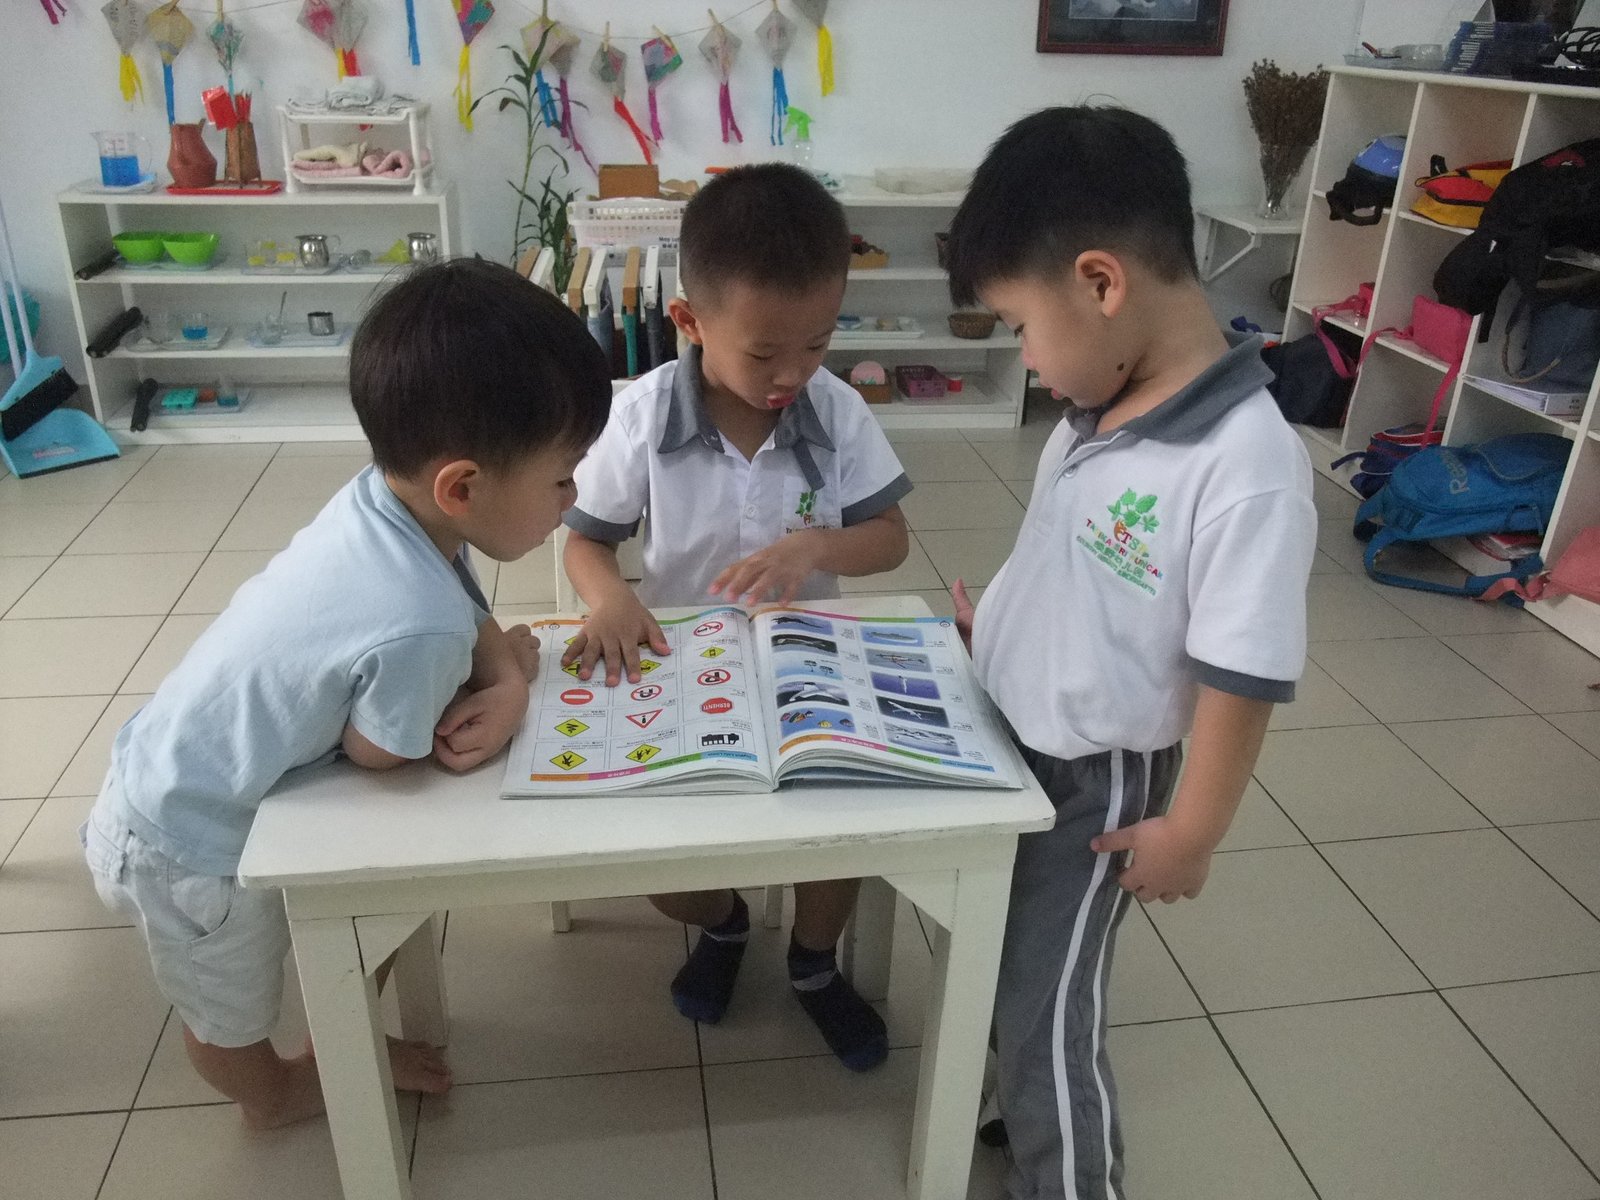
Although we guide the children to be independent and let them do work that he can do. But,do look for opportunity to build up friendship. That is where a special circumstances that you can do for others, that is helping. At the same time, the other party can feel the sense of appreciation and love from his friend.

Instead of saying, “(name), you go and help.”
You may say, “(Name) is in a urgent, may be anyone of you can help him (do something) ?”
I think help is not by direction but is by voluntary.

by Jess Liew | May 18, 2018 | Montessori 101, Montessori Learning
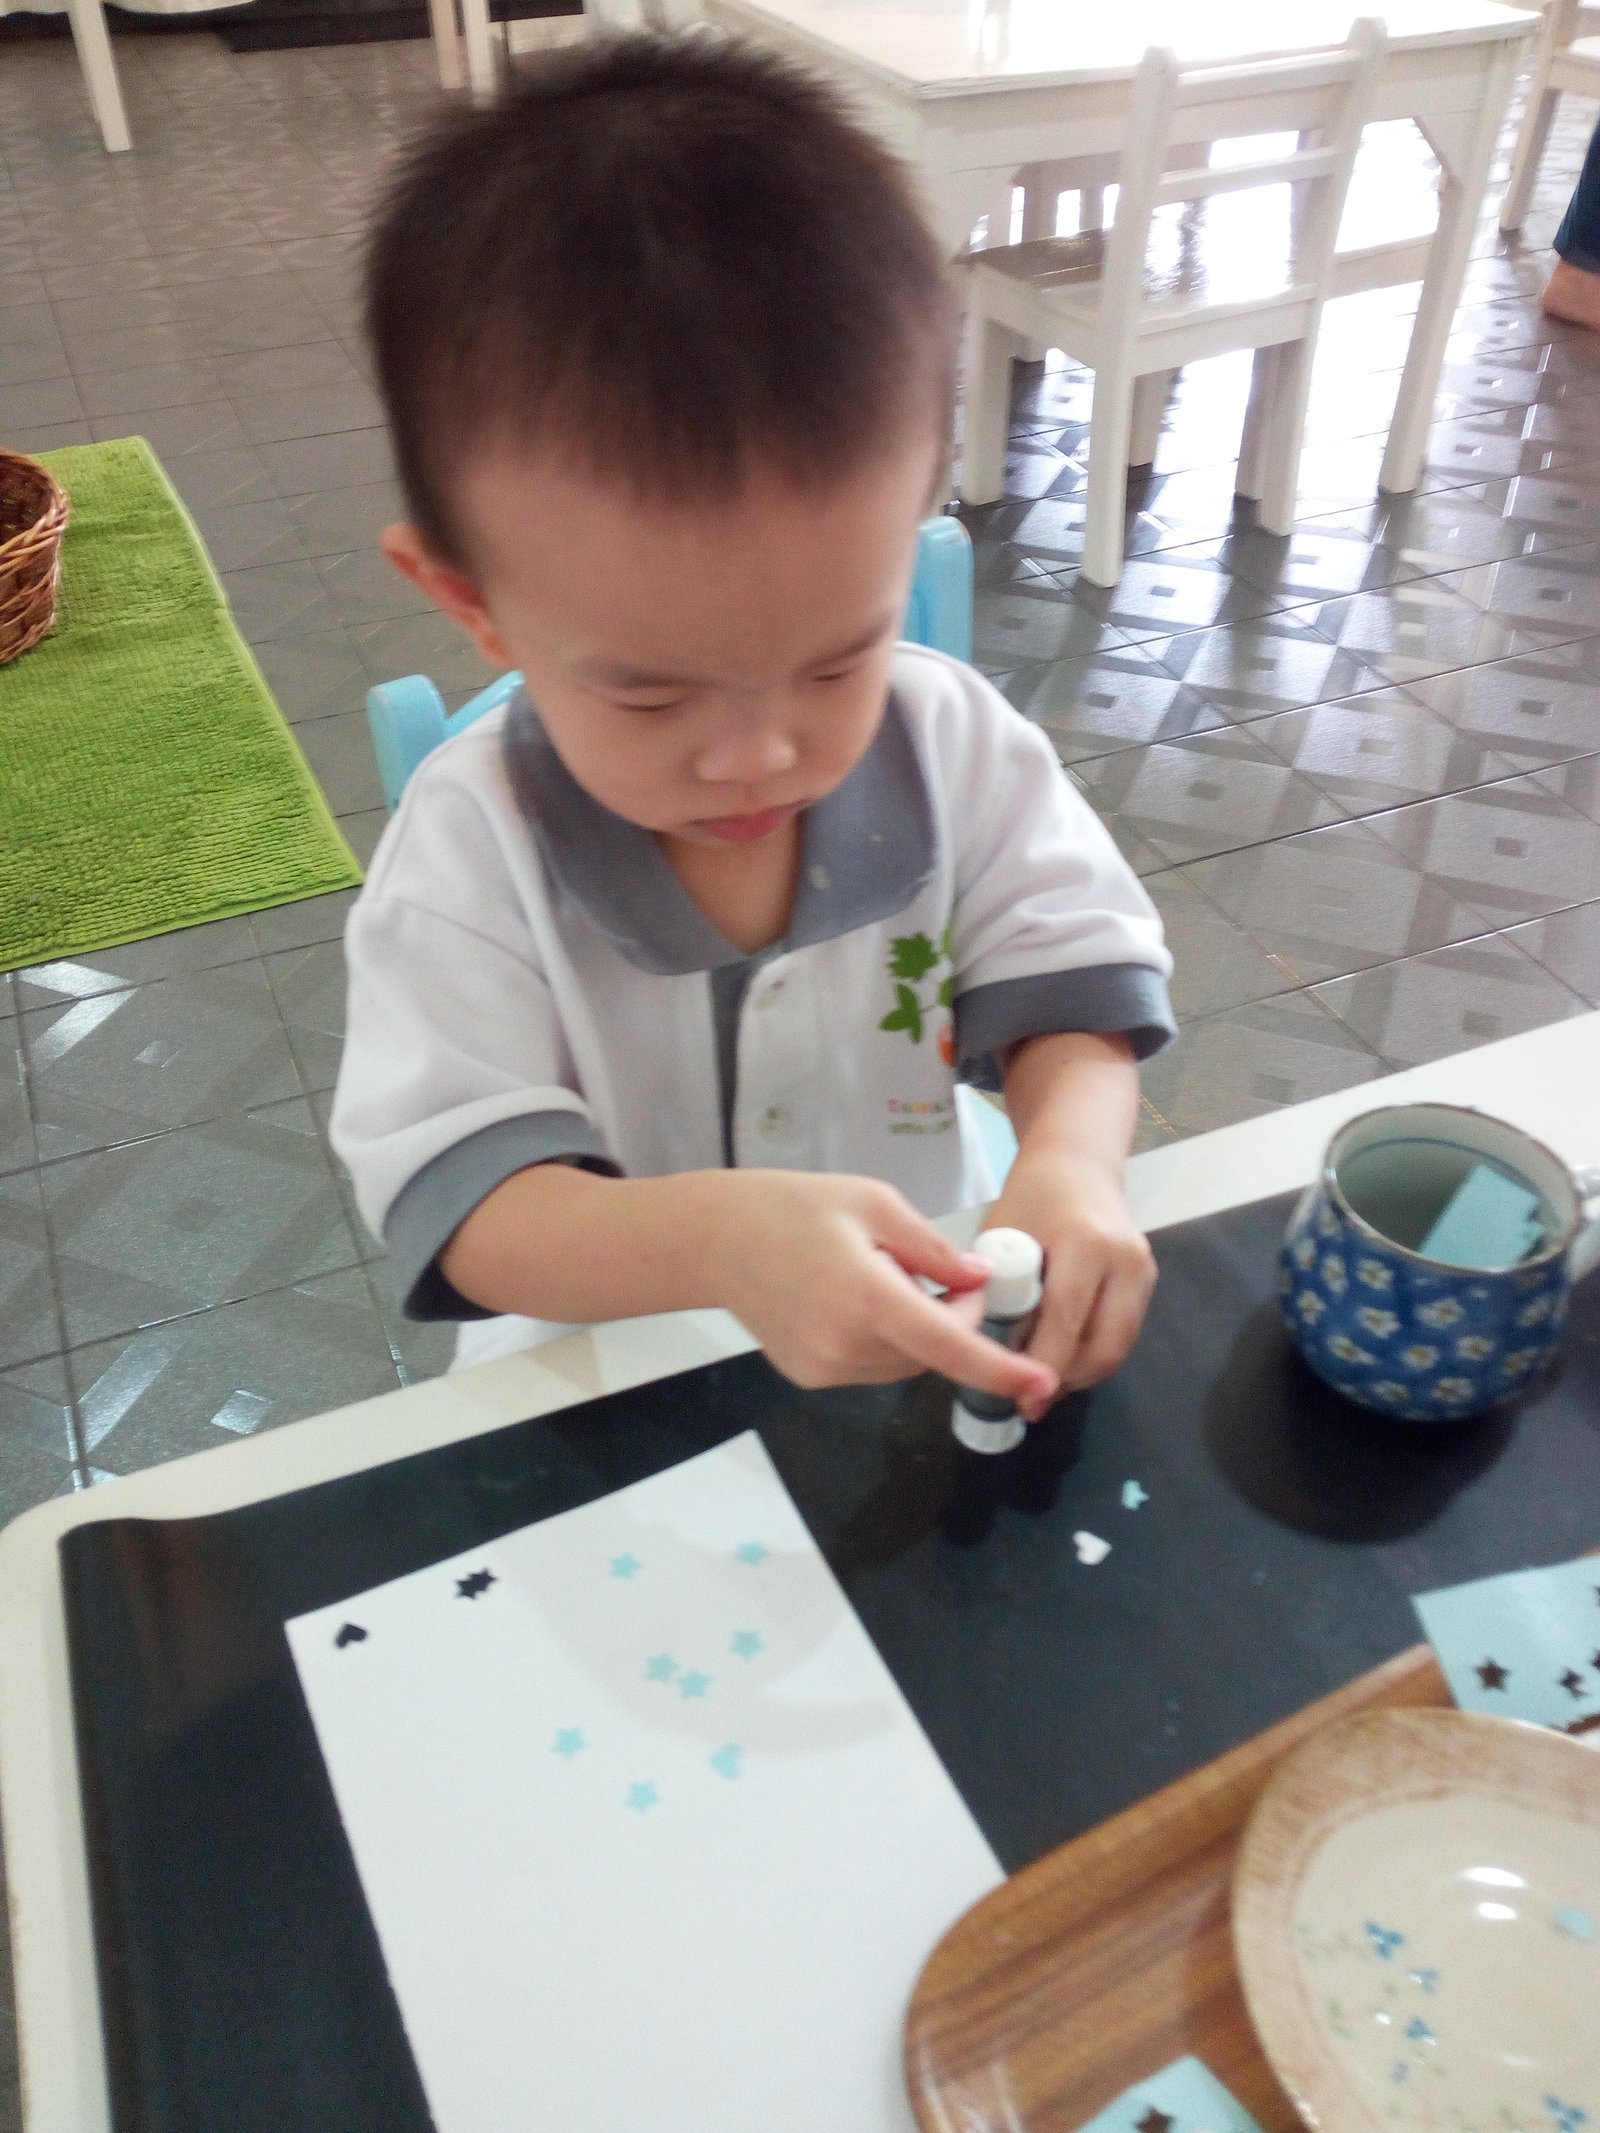
Do you start by giving your child a scissors and paper and say, “We are going to do cutting, see how I hold the scissors , see how I cut. Now you try.”
When your child struggling to cut, you started to hold his hand and cut together?
When you follow the development sequence of scissors cutting skills, your kids will be much more successful cutting with scissors.
To start to use scissors and start to cut like a pro, what are the skills needed?
– To have well developed fine motor skills.
– Hand-eyes co-ordination skills while moving the scissors following the line.
– Bilateral co-ordination, where by involving moving both sides of the body at the same time, while each hand is performing different task. This is where one hand doing the cutting, the other hand holds the paper and turn it. This is a challenge for young kids!
Let’s see what are the sequence to prepare for cutting using scissors?
Activities to develop scissors skills:
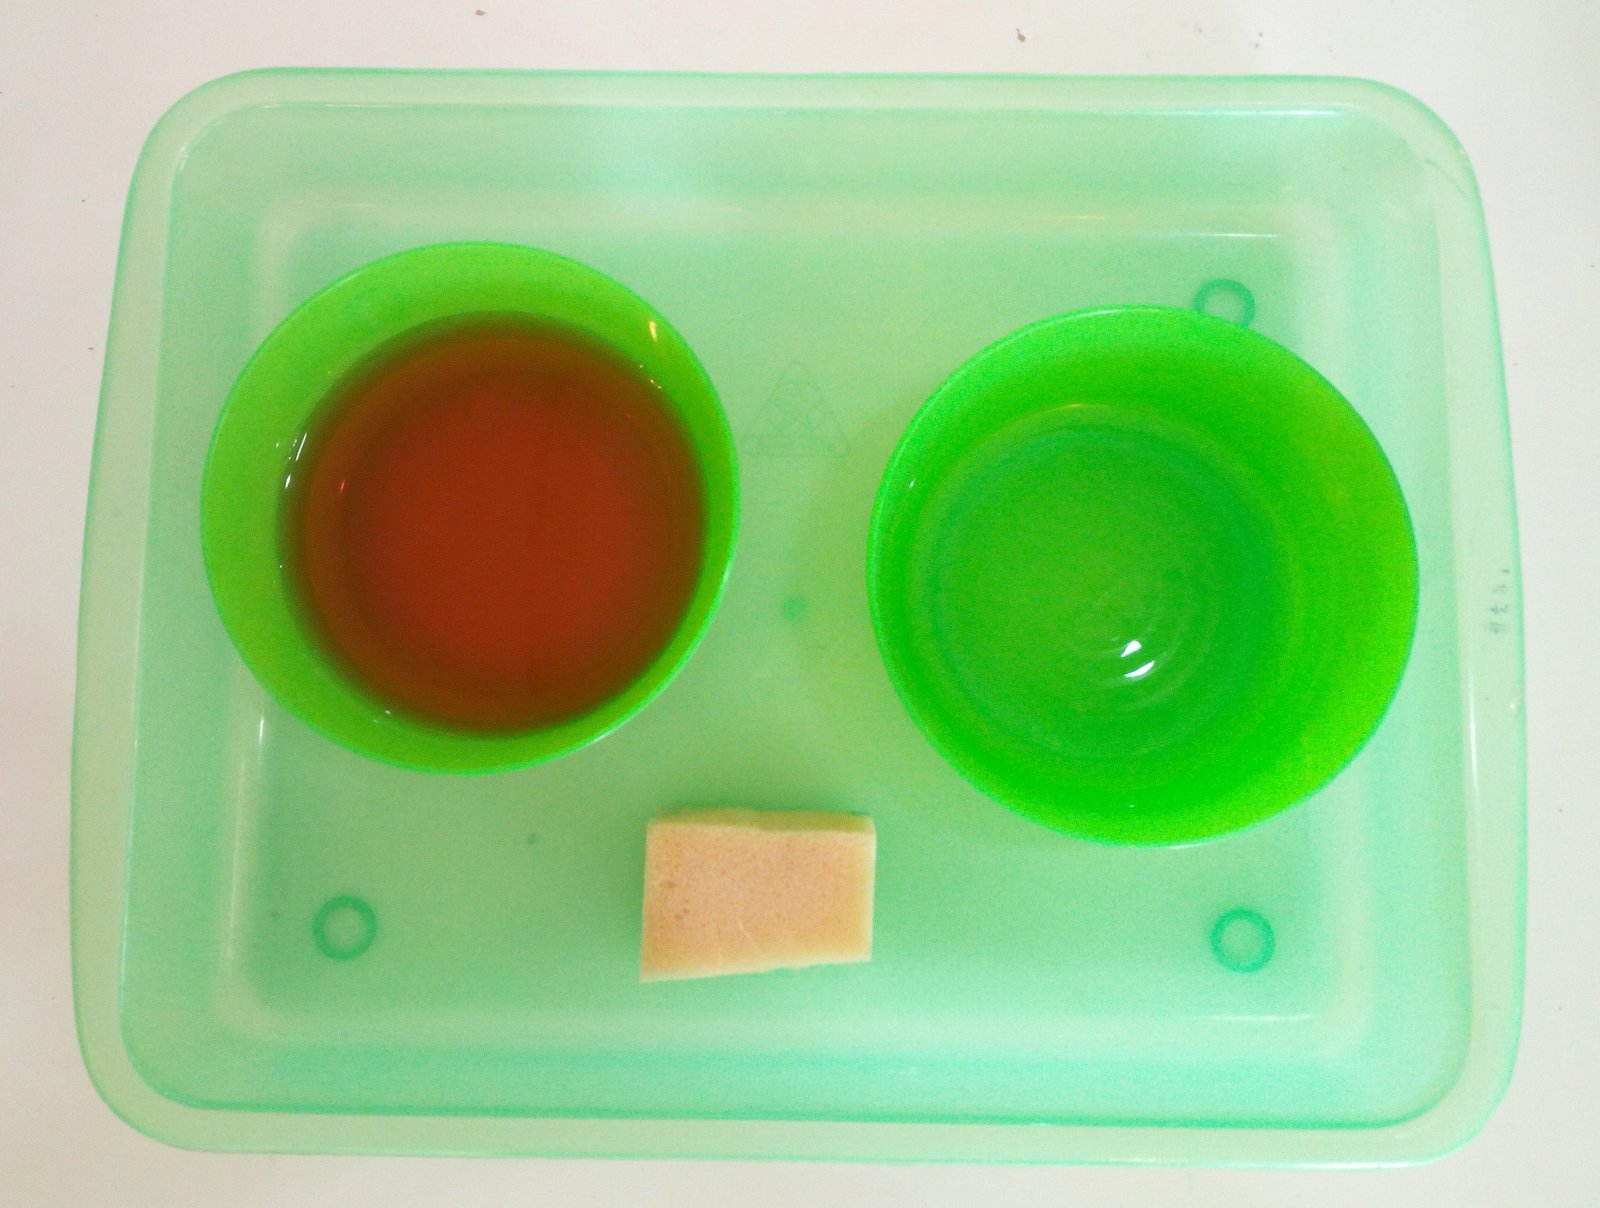
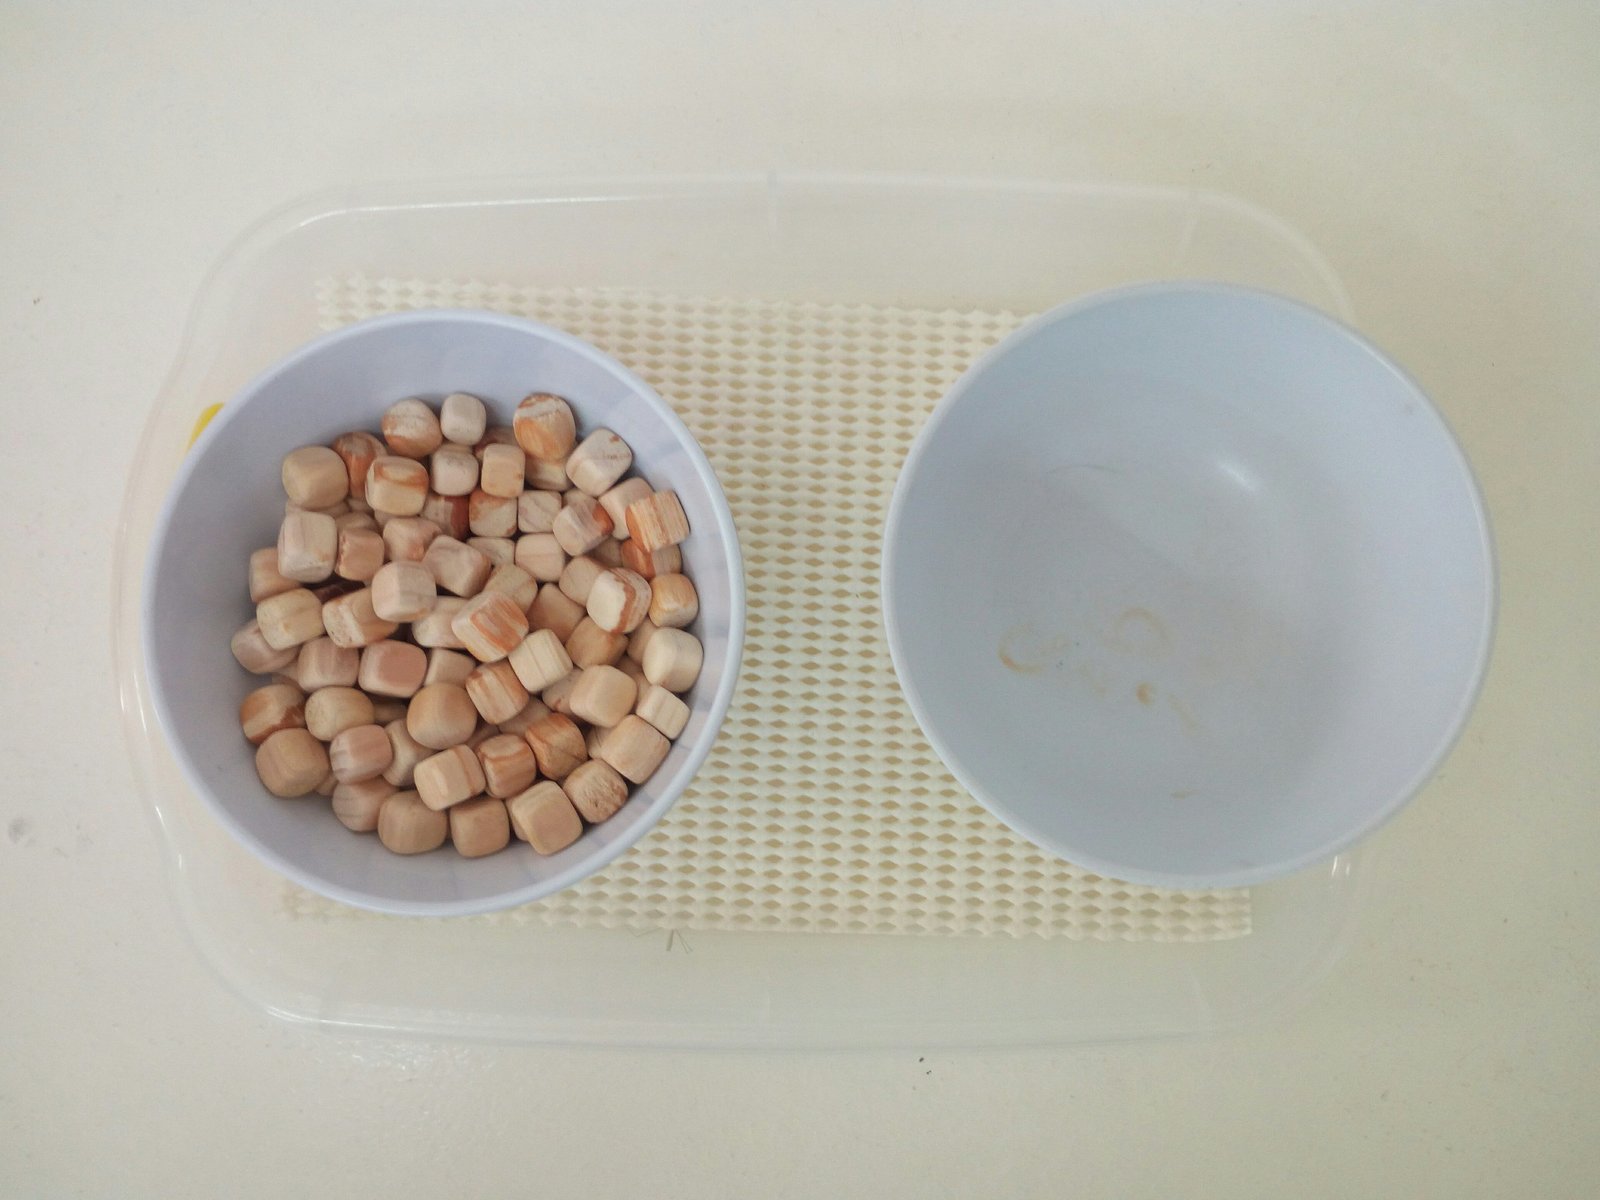
- In Practical Life of Montessori Classroom, we have varieties of transferring objects or water from one container to another container with hands, tongs, ladle, tweezers or pipette. These can be prepared in your home environment too.

2. Ripping papers
Prepare strip of colour papers, allowing the child using their tripod grasp (thumb and first two fingers) to grip the papers and rip. The ripping by moving the hands in different direction allowing the child to practice their bilateral coordination skill too. As they demonstrate readiness, move to larger piece of paper.

3. Sinpping
Snipping is an activity where the child practice opening and close the scissors one time only which results in successfully cutting something. This is to strengthen the hands muscles and prepare for longer lines cutting.

Note: A demonstration is needed to show how to hold the scissors before start this activity.
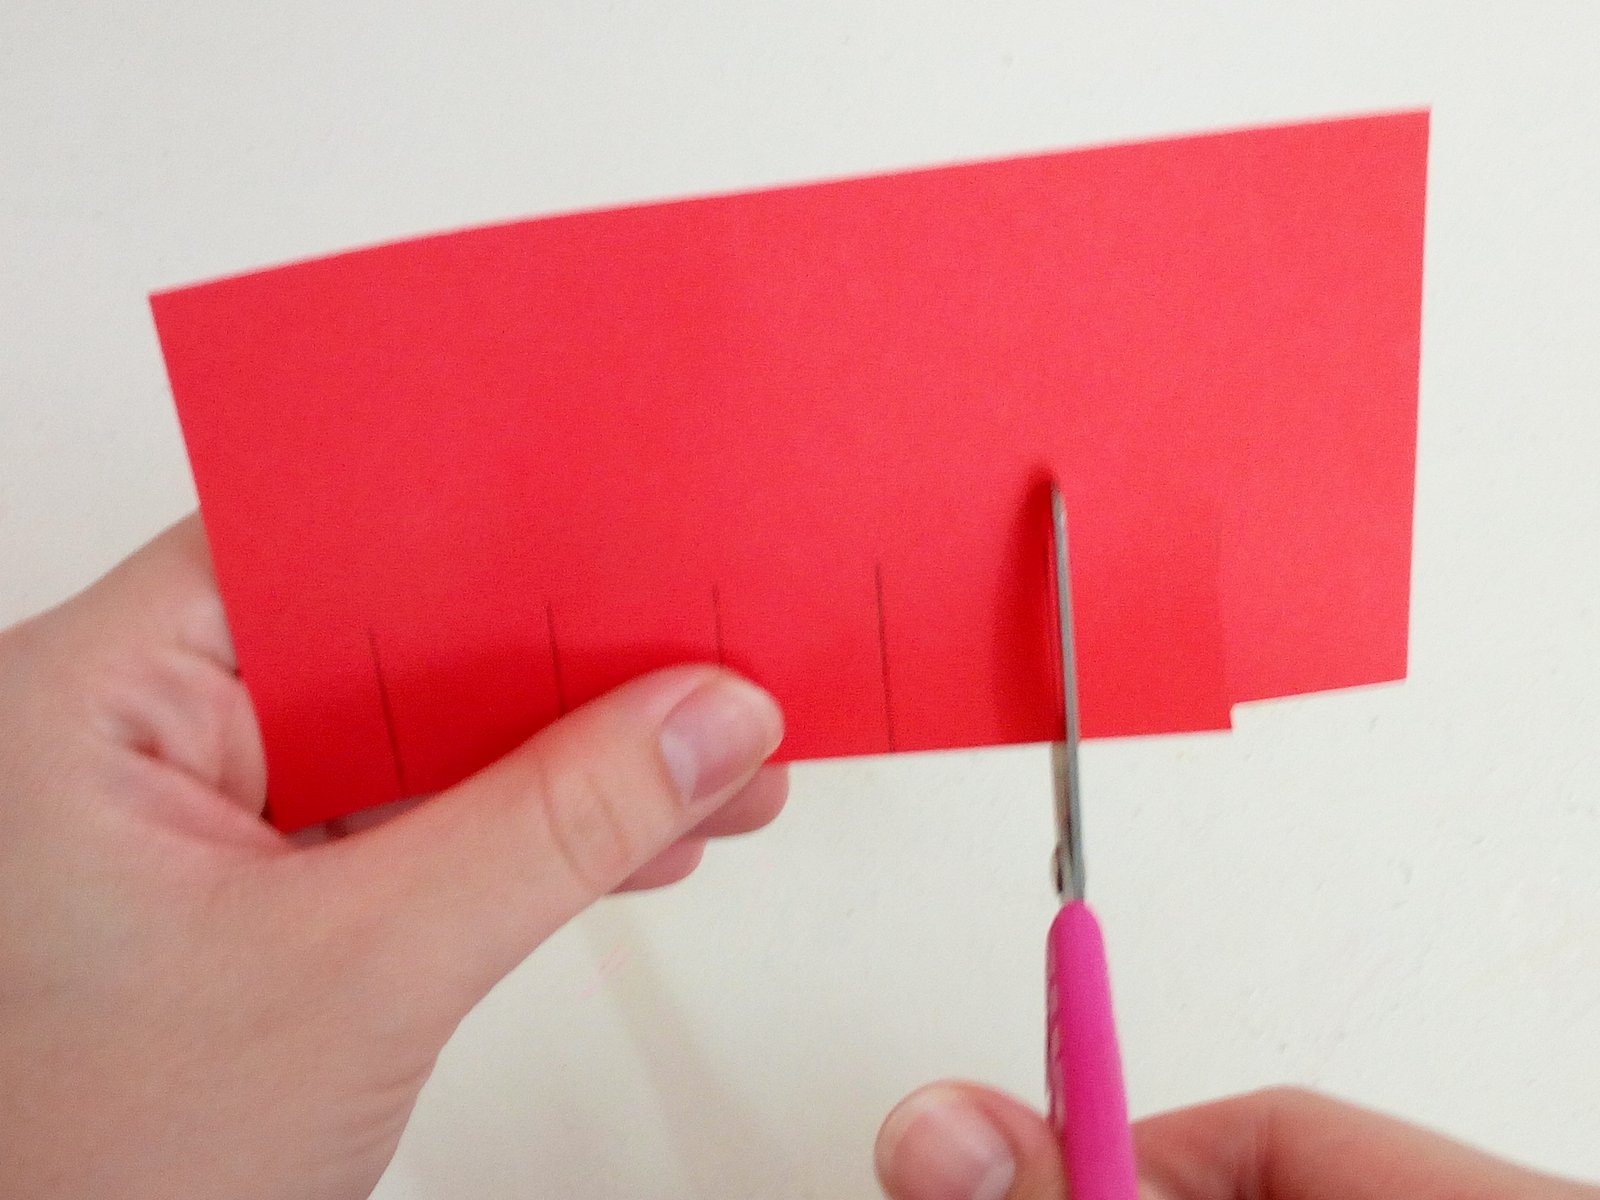
4.Fringe
Before the child given to longer line cutting. The child proceeds to fringe cutting so that the child learn to stop where the line end.
5. Cutting straight lines
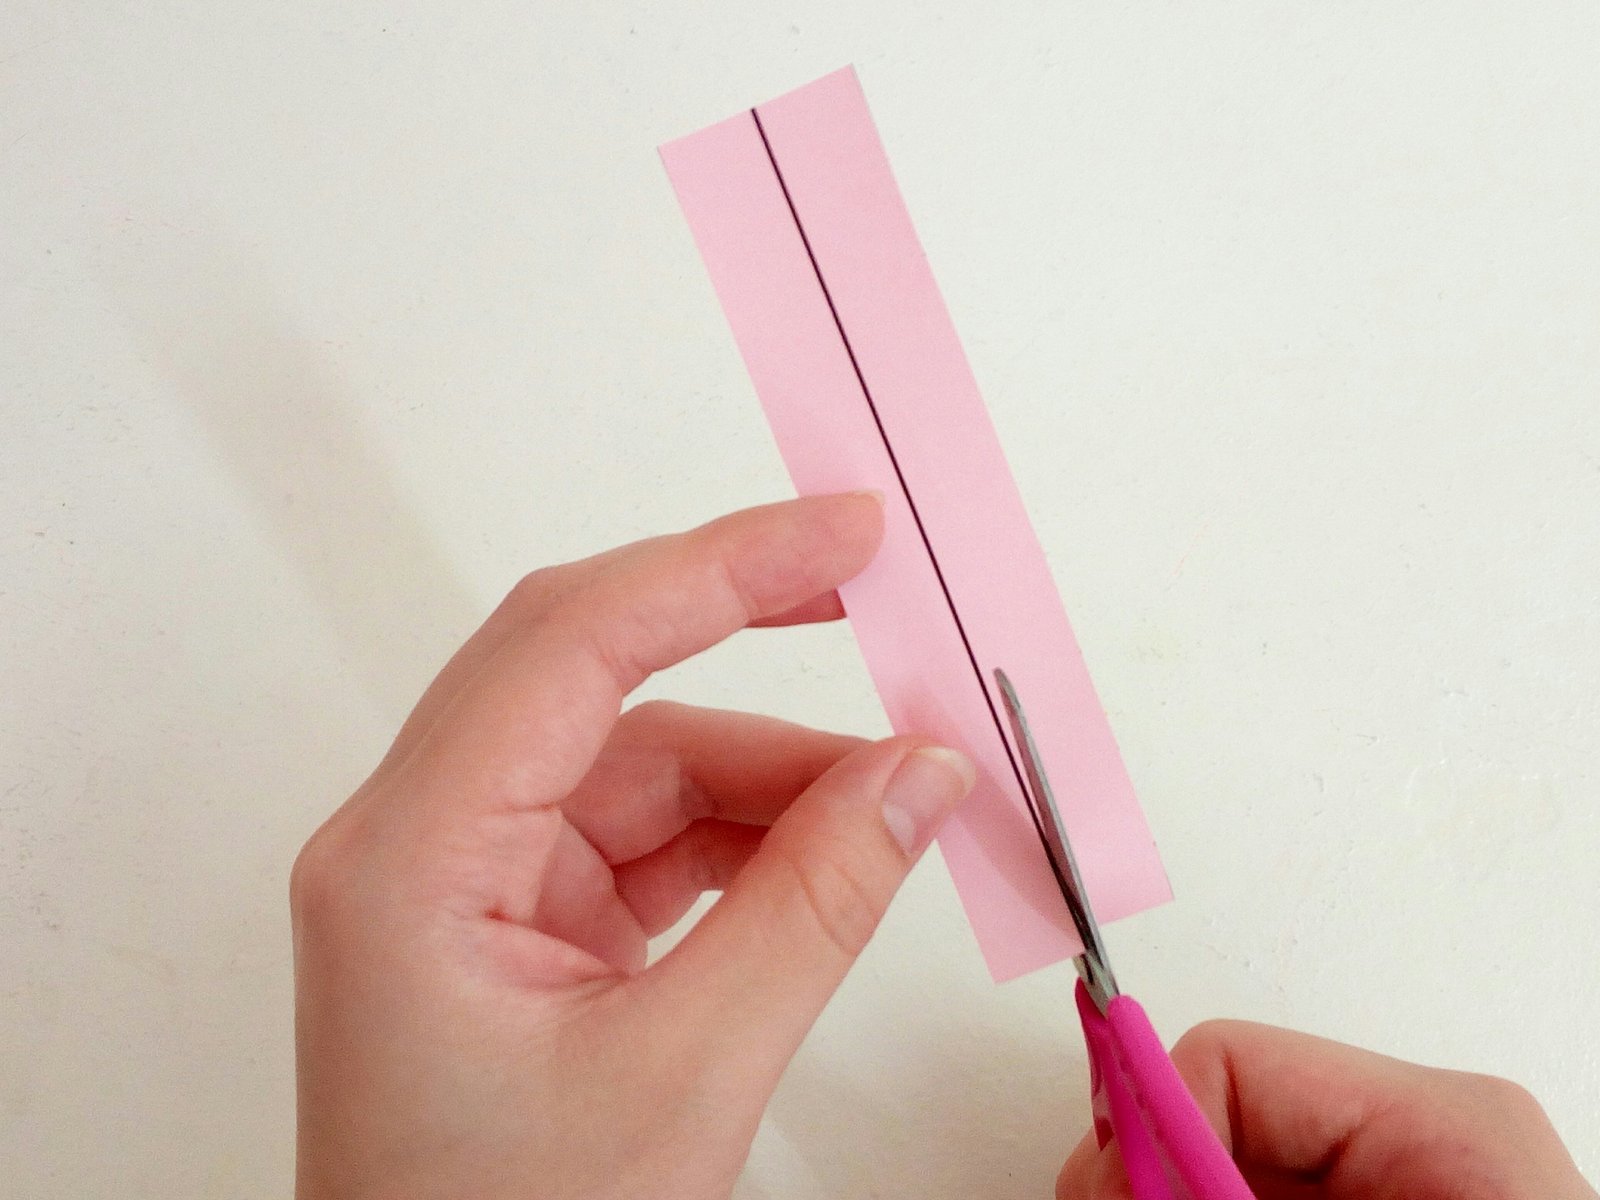
Start given a strip of paper drawn 2 long straight vertical lines. The child need to cut from one point to another point by open and close the scissors multiple times.
It is a tiring work for the child.
The child can be given diagonal straight lines as an add-on practice.
6. Cutting Zig-Zag lines

Next, is cutting the zig-zag line. This is a more challenging where the child requires to slightly turn the paper as they cut.
7. Cutting Curved Lines
There are varieties of curved lines with different level of challenges for the child. This can be tricky to young children. Observed the child progress on cutting in the previous activities to know whether the child is ready for this challenge, otherwise, it can be demotivating the child if it is too challenge for him.


8. Cutting right angles

Prepare papers with right angles shape like squares and rectangles. A demonstration may have needed to show how to turn the paper. The child may try to turn their arm instead of paper and cut in an awkward way.
Note: Pasting using glue will be another activity that need to be introduced. Do not attempt to do both at the same time at the beginning.